|
|
 |
|
|
| HOW TO MAKE A COVER
FOR A CD |
|
|
|
With AV CD Cover you can create CD booklets and labels for your mp3 or audio CDs, you are going to burn. In this tutorial, you will create a booklet and CD label for your romantic collection. The booklet will include the title of "Romantic Collection" in front and the list of songs in the rear. In addition, both sides will have the background picture. CD label will consist of the title and the same background picture. Finally, you will print your ready booklet and CD label. |
|
| Step 1: Switch to CD Cover mode |
| • |
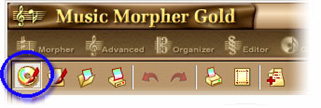
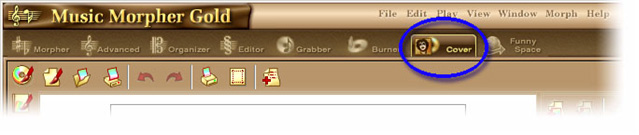
In AV Music Morpher click the Cover button to go to the Cover mode. |
| |
|
 |
|
| Step 2: Create the booklet front side |
| |
|
| |
a.
Place the title on the booklet front side |
| |
Click the button (see the picture below) to switch to the front view. |
| |
|
 |
| |
|
|
|
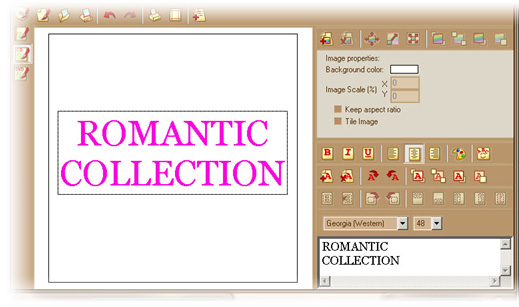
Click the Add text label button (1). As the result, the new text block (2) will appear on the booklet view. Remove the default title Text in the edit box (3) and type in "ROMANTIC COLLECTION" instead. Then select the proper font and size (4) for your CD title and change the text color (5) for pink. |
|
 |
| |
|
| |
Finally, drag the text box to the center of the booklet front view. The result should look as at the picture below: |
| |
|
 |
| |
|
| |
b. Add the background picture for the booklet front side. |
| |
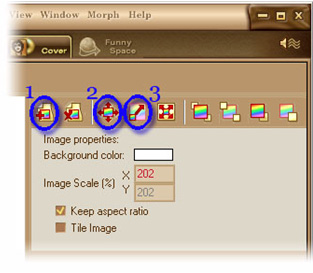
Click the Add image button (1) and in the Open dialog box select the file, containing your background image. Click Open when ready. Then click the Move image button (2) to activate the picture-dragging mode. Now drag the picture to the top left corner of the booklet. If the picture does not cover the whole booklet, click the Zoom image button (3) for the magnifier icon to pop up. Position the magnifier over the image and, keeping the left mouse button pressed, move the magnifier in the top-left direction until the picture covers the whole booklet. If you need to adjust the position of the picture, click the ‘move image’ button again and start dragging the picture until you place it to your liking. |
|
 |
| |
|
| |
Now the front side of your booklet is ready. In our case, we used roses as a background image, so you can see the result below: |
|
 |
| |
|
|
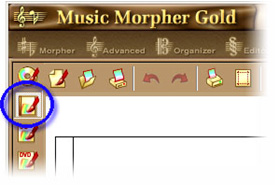
| Step 3. Create the rear side of the booklet |
| |
| Creating a numbered list of songs |
| |
| In AV CD Cover, you can quickly make a numbered list of songs, including information about author, title, album, duration, etc. In our case, you will build the list based on the files you are going to burn to CD. This numbered list will consist of the following fields: the song title, the author and the duration time. For that, click the button (see the picture below) to switch to the rear view. |
| |
 |
| |
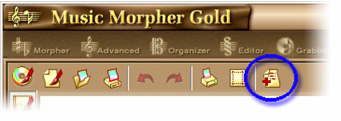
| Click the Add songs button (see the picture below) and in the Open dialog box select all the audio files to be displayed in the list. Click Open when ready. |
| |
 |
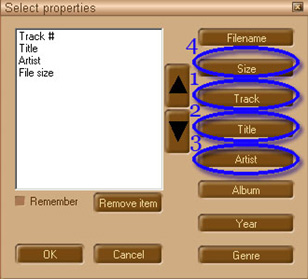
| In the Select properties dialog box click the buttons: Track(1), Title(2), Artist(3), File size(4). These properties will be added to the list box as shown below: |
| |
 |
| |
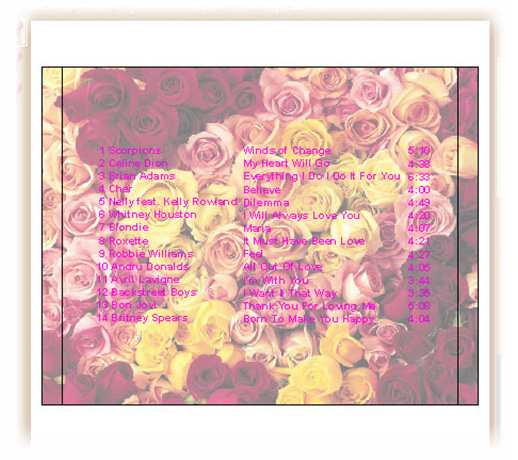
| Click Ok. As the result, the four columns (the track numbers, the song titles, the artists and the song duration) will appear on the booklet rear view. Select all the columns with the mouse and change the text color to pink like you did in Step 2a. Then drag the selection to the center of the booklet. The result should look like at the picture below: |
| |
 |
| Now add the background picture to your rear side like you did in Step 2b. The final view should look as below: |
 |
|
|
| |
|
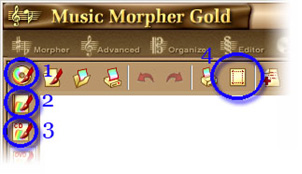
| Step 5. Printing the booklet and CD label |
| |
In each of the views: booklet front (3), booklet rear (2), CD label (1), click the Print button (4). |
| |
|
 |
| |
|
Now you have three printings of your CD cover. Carefully clip them. Then insert the booklet sides into your CD box and stick the label to your CD
face. After all is done present this "Romantic Collection" to your beloved! |
|
| |
| |
| |
|
|
|